How to Pack Your Backpack for a Multi-Day Trek: Practical Step-by-Step Guide
How to Pack Your Backpack for a Multi-Day Trek: Practical Step-by-Step Guide
Packing a backpack properly is one of the most important skills for multi-day trekking. A well-packed bag improves comfort, balance, and endurance — and reduces the chance of injury. This guide walks you through everything: how to choose the right pack, the packing principles, what goes where, common mistakes, and quick checklists so you can hit the trail confidently.
Why Packing Smart Matters
- Improves balance and posture — heavy items close to your back and high up reduce sway.
- Reduces fatigue — evenly distributed weight conserves energy on long days.
- Makes essentials accessible — you don’t want to dig for your rain jacket in a storm.
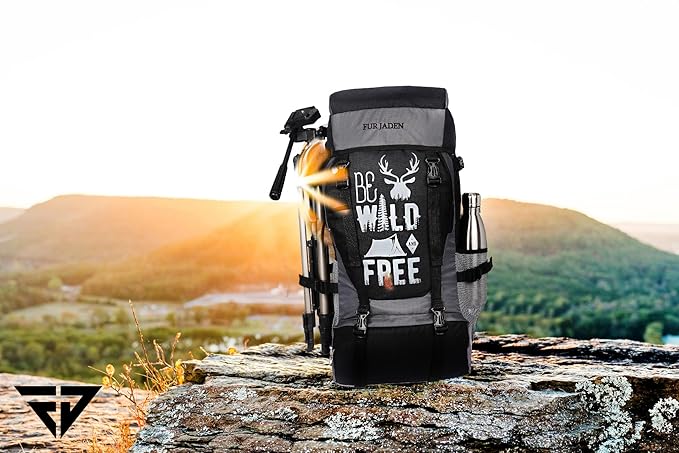
1. Choose the Right Backpack
- Capacity: Day hikes 20–30L, weekend 30–50L, multi-day 50–70L (depends on season & gear).
- Fit: Measure torso length and get a pack with adjustable hip belt so 60–70% of load sits on hips.
- Features: Top lid, hip-belt pockets, side pockets, hydration sleeve, compression straps, rain cover.
2. Packing Principles (golden rules)
- Heavy items close to your spine and centered: keep them between shoulder blades and above your hips for balance.
- Light items on top: insulation, spare layers, and camp comforts go high so you can access them quickly.
- Frequently used items in external pockets: water, snacks, map, phone, sunscreen, headlamp.
- Waterproofing: use dry bags or stuff sacks — expect wet conditions.
- Compress & stabilize: use compression straps to keep load compact and stable.
3. Pack Zones — What Goes Where
Bottom Zone (camp sleeping essentials)
- Sleeping bag (compressed in a dry sack or compression sack)
- Sleeping pad (if small/deflated, can attach outside)
- Light camp clothes you won’t need during the day
Core / Middle Zone (heaviest items)
- Cooking gear and fuel (if carrying)
- Food for the day(s)
- Water reservoir (if inside sleeve) or heavy water bottles
- Stove and metal pots (in a protective pouch)
Upper Zone (day essentials & quick access)
- Insulation layer (fleece/down jacket)
- Rain jacket and rain pants (stored in waterproof bag)
- First-aid kit, headlamp, toiletries pouch
External & Hip-belt Pockets (grab-and-go)
- Water bottle(s) in side pockets
- Snacks, map, phone, sunscreen — in hip-belt pockets or top lid
- Trekking poles or tent poles (secured to outside lash points)
Top Lid / Brain
- Items you might need between camps: camera, documents, power bank, small snacks, permits, a small repair kit
4. Order of Packing — step-by-step
- Line the pack with a waterproof liner or use internal dry sacks for all items.
- Place the compressed sleeping bag at the bottom.
- Pack the heavy items (food, stove) in the core area close to the back panel.
- Place medium-weight items (clothing, tent body if using) around the heavy core for cushioning.
- Top off with layers and the rain jacket in a waterproof bag.
- Fill pockets (sunscreen, map, snacks). Attach bulky items (sleep pad, tent poles) to outside lash points if needed.
- Use compression straps to tighten the load; test the shoulder and hip straps for correct fit.
5. Weight Targets & Tips
- Aim for pack weight (excluding consumables like food/water) of about 10–15% of your body weight for comfort on multi-day treks.
- For ultralight trekking, aim to keep total pack under 10 kg (including food & water) if terrain and weather allow.
- Carry consumables (food/water) strategically: refill water where available rather than carrying extra the whole time.
6. Common Mistakes to Avoid
- Packing everything: bring essentials only — ask: will I use this item on the trail?
- Poor balance: putting heavy items on the outer shell makes the pack pull backward and tire you faster.
- Ignoring hip fit: if the belt isn’t snug, your shoulders will carry the load and you’ll get sore.
- Not testing the packed load: walk around with the full pack before your trek to identify hot spots and adjust straps.
7. Day-by-Day Packing Strategy
- Day 1: carry enough water + food for 1 day and minimal camp gear if you’ll rest at lodges.
- Middle days: keep heavy meals and fuel centrally; rotate snacks to hip pockets to keep energy up.
- Final day: carry only what you need — consider mailing unnecessary gear if logistics allow (in some regions).
8. Weather & Season Packing Adjustments
- Monsoon: double up on waterproofing, keep electronics in dry bags, expect wetter clothing and thicker socks.
- Winter/high-altitude: increase insulation layers and carry a warmer sleeping bag; expect increased pack weight.
- Hot/dry seasons: prioritize breathable clothing and extra water-carrying capacity.
9. Quick Checklist — Pack Contents (Multi-day)
- Sleeping: sleeping bag (dry sack), sleeping pad
- Shelter: tent, stakes, footprint (if camping)
- Clothing: base layer, insulating mid layer, rain/wind shell, socks, hat
- Food & Cooking: stove, fuel, pot, utensils, food for N days
- Hydration: bottles + purification method
- Navigation & Safety: map, compass/GPS, headlamp, first-aid, whistle
- Misc: phone, power bank, toiletries, repair kit, permits, cash
10. Final Pack-Test Routine
- Zip and compress your pack fully.
- Put it on and tighten the hip belt first, shoulder straps second.
- Tune the load lifters so the weight sits on hips.
- Walk briskly for 10–15 minutes on varied ground to test for pressure points or bounce.
- Adjust or remove unnecessary items until comfortable.
Conclusion
Packing well is part science, part habit. With practice you’ll learn what your specific treks require and how to balance comfort with preparedness. Use the zone method, prioritize heavy items near your back, keep essentials handy, and always test the packed load before you leave. A smartly packed backpack makes the trek safer, more comfortable, and far more enjoyable.
Related reading
- Best Trekking Backpacks in India (2025): Budget Picks by Price
- Essential Trekking Gear Checklist for Beginners
 Leora Jenkins
Longtime trekker & digital-gear tester. I write practical, experience-first advice for safe and tech-smart trekking. Contact: vila.ked2@gmail.com


